

Vinyl flooring is one of the most popular floor coverings, quickly transforming your interiors. It offers easy installation and requires fewer materials, so most homeowners prefer to install it themselves. It’s good, but you must understand the important steps. Otherwise, you will end up ruining the floor.
There are various methods for installing this flooring, including click-lock, loose-lay, or glue-down. You also need some essential tools for trimming tiles, adding underlays, and finishing. In this article, Floor Mat will provide a complete guide on how to install vinyl flooring from start to finish. With this comprehensive approach, you can install vinyl planks and tiles flawlessly.
Let’s start.
DIY Vinyl Flooring Installation | A Step-by-Step Guide
Vinyl flooring comes in various types, which determine the appropriate installation method for each. Identify whether you have click-lock planks, glue-down vinyl, or peel-and-stick flooring. It will also help you choose the right underlayment types, adhesives, or geometric patterns.
You must collect the following items for seamless Vinyl Flooring installation: spacers, underlays, a jigsaw, a tapping block, a mallet, adhesive, a trowel, a straightedge, and a level. Beyond measuring tools, you should also have trim pieces, transition strips, and cleaning supplies. After that, start with the first step.
1. Prepare Your Room For Installation
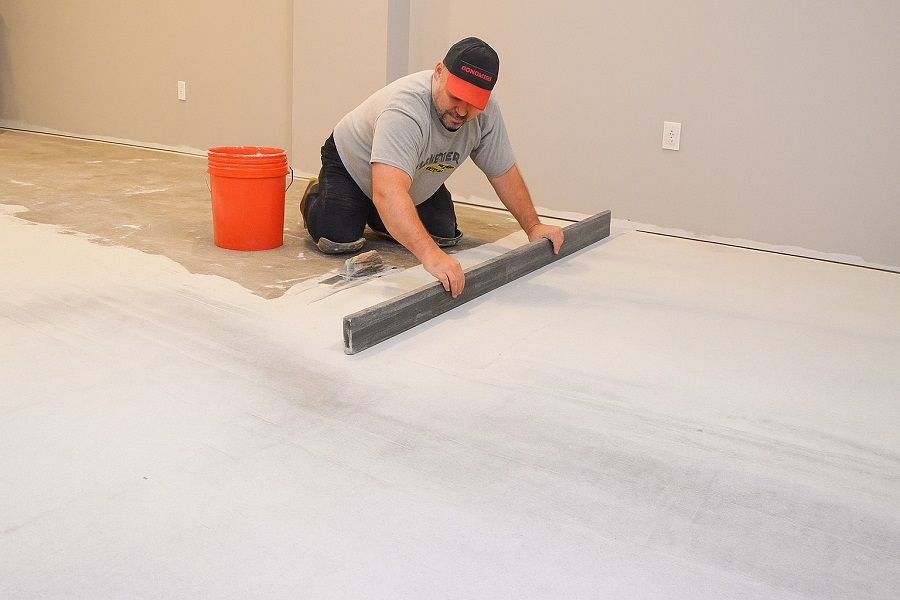
The first step in our guide is to prepare your room by removing the old flooring carefully. Whether you’re installing the vinyl bathroom, laundry area, basement, bedroom, living room, or kitchen flooring, clear out all furniture items. You must remove the underlay if it is cracked or not useful enough.
Make sure you have a neat and clean base free from dirt, grime, or grease for better adhesion and flooring stability. Also, take care of proper lighting in the room for flawless flooring fitting.
2. Acclimate Your Vinyl Flooring
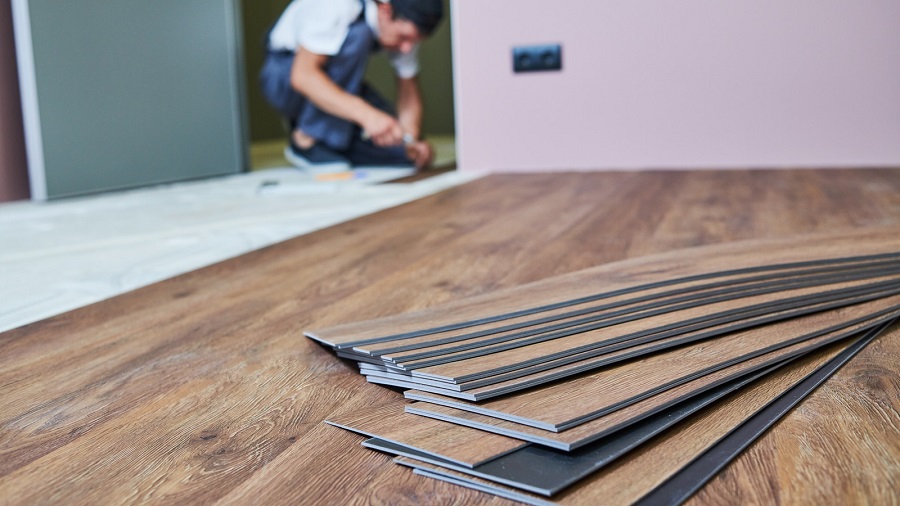
Acclimating your vinyl floor covering is essential to allow the material to adjust to the room temperature. The ideal acclimating time for a flooring depends on its thickness. Plus, you can also check the manufacturer’s instructions on this.
Some benefits of acclimating flooring include:
- Help prevent unexpected expansion and contraction
- Ensure long-term structural stability of flooring
- Facilitates the smooth flooring installation
- Prevent cupping, warping, and buckling
The vinyl material is sensitive to weather changes, so immediate installation is not recommended when you’re installing garage flooring. Pay attention to proper acclimation and then move forward to the next step
3. Checking & Preparing Subfloor
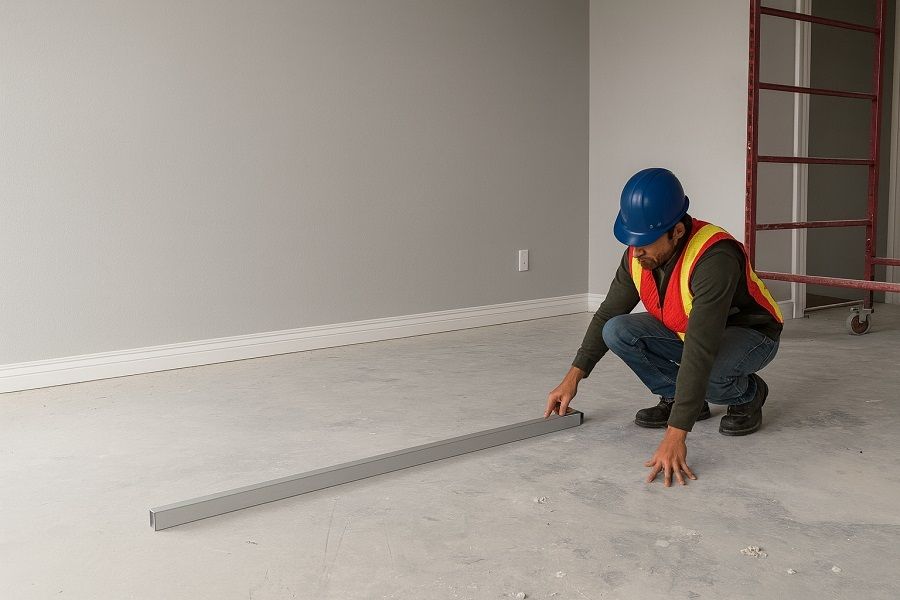
The preparation of the subfloor is a crucial step in the treatment of vinyl floors. You have to identify the subfloor, check its current condition, and then repair any imperfections. It will ensure a long-lasting vinyl plank flooring installation.
Identify The Subfloor
There are various types of subfloors, including plywood, concrete, or existing tiles. Each type of subfloor requires specialized preparation. You must check for a smooth base and proper cleaning of tiles. For concrete, controlling moisture levels is necessary.
Evaluate Subfloor Condition
Check for cracks, loose sections, humps, holes, or dips. Inspect any irregularities or uneven spots by using a straightedge. It will help you measure and identify issues to be resolved before tile installation.
Repair And Prepare
Repair all the issues that you found during the detailed subfloor inspection to move further. Use high-quality putty to fill holes and cracks, and install moisture protection membranes over subfloors.
4. Installing Underlays
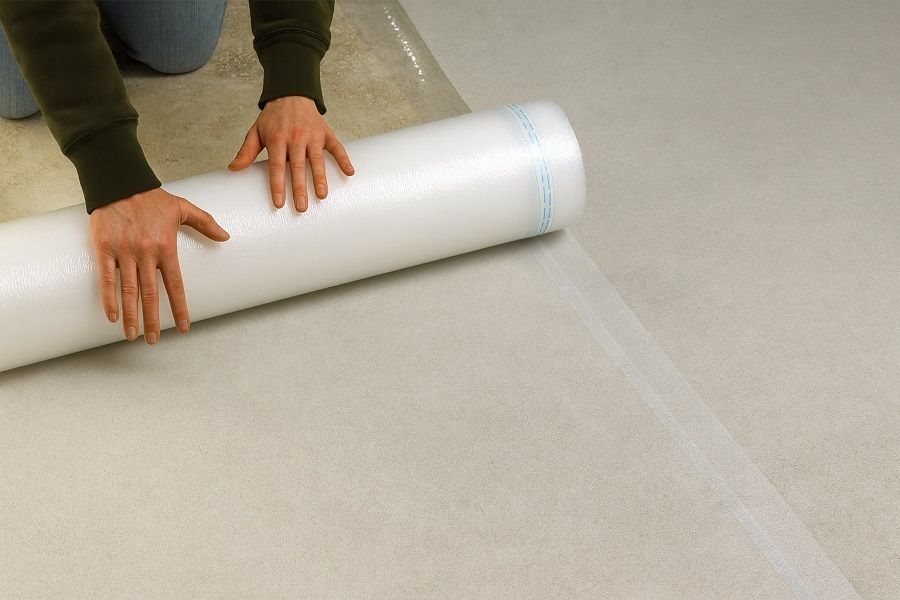
Some vinyl floor coverings have pre-attached backing, so you don’t need underlays. However, if there’s no built-in backing, you can go for adding a separate underlay. Some best options include cork underlays, foam underlays, or pads that resist moisture.
There are various benefits of having an underlay beneath your vinyl floor coverings. They offer superior sound absorption, reduce muscle strain by enhancing impact resistance, and make the whole installation process smoother. They also add value to the overall lifespan of your flooring and ensure proper weight distribution during high traffic.
5. Planning The Layout
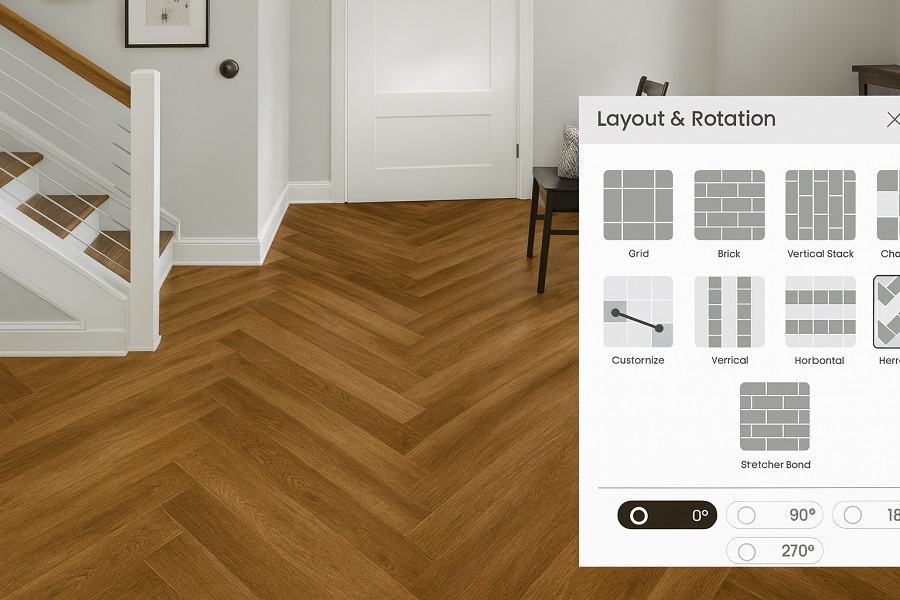
The perfect layout adds depth to your floors and enhances overall interest. The layout planning is the most important step during vinyl flooring installation. You have to calculate the width of the first and the last row to avoid weak cuts and narrow alignment. With this, you can create a flowing effect and make your floors look bigger than their perceived size.
Here are some popular geometric layouts for installing vinyl tiles:
- Herringbone: The vinyl herringbone flooring is a classic and zig-zag pattern in which you place rectangular planks or tiles at 90° angles.
- Chevron: Planks and tiles are cut at 45° or 60° and form a “V-shaped” continuous pattern.
6. Practical Installation
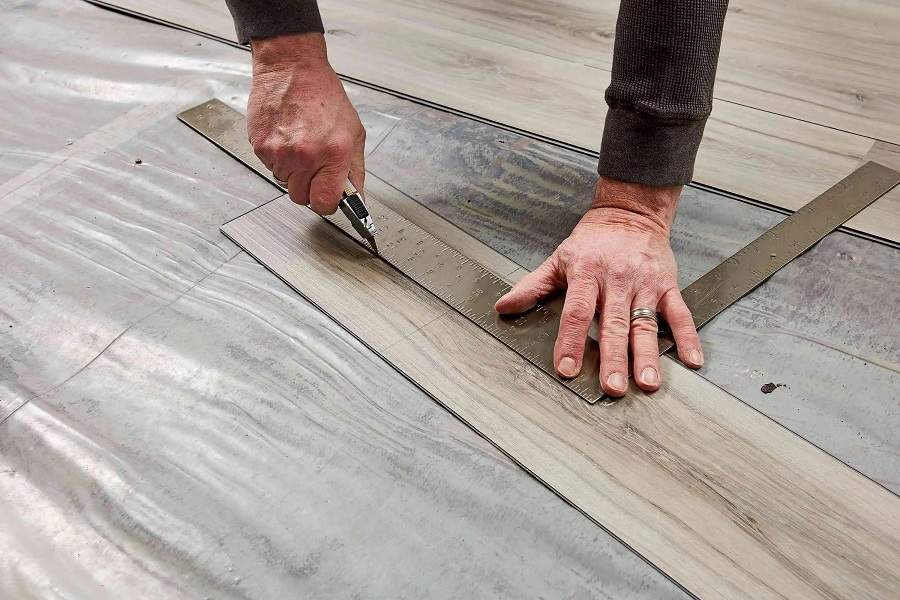
Use a sharp utility knife or fine-tooth saw to cut and trim the vinyl floor coverings. Ensure precise cutting as per the decided layout and observe neat and clean edges. If you have click-lock panels, they can easily snap together. For glue-down vinyl planks, you have to first apply the adhesive using a trowel.
For peel-and-stick flooring tiles, you don’t need any adhesive. They will be attached to the surface instantly upon attaching. Regardless of the flooring type, double-check seams and joints. Tap with a mallet or press with rollers to eliminate any air pockets.
7. Decorative Treatments
Once you have completed all the steps, enhance the overall vinyl floor installation with the perfect decorative treatments. You can consider adding quarter-round trims, upgrading baseboards, or fitting transition strips. You can also install matching stair nosings and incorporate stylish thresholds for a professional finish.
Wrapping Up!
To sum up, we discussed in detail how to lay vinyl plank flooring in various areas of your home and apartment. We enlisted the necessary tools & materials to cut tiles and prepare your subfloor. We recommended the best ways to prepare your floor, acclimate the flooring, and check the floors.
In our guide, we also discussed different types of acoustic and cushioned underlays that you can use to install flooring. Our steps have also taught you about the layout planning and geometric patterns, such as Chevron and Herringbone. We explained floating, loose lay, and peel-and-stick installation methods. Our guide also helped you learn about leaving appropriate expansion gaps and decorative treatments for precise flooring installation.